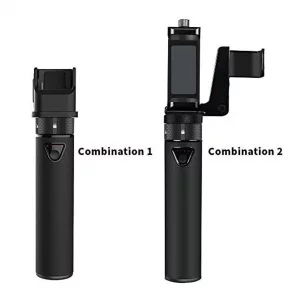
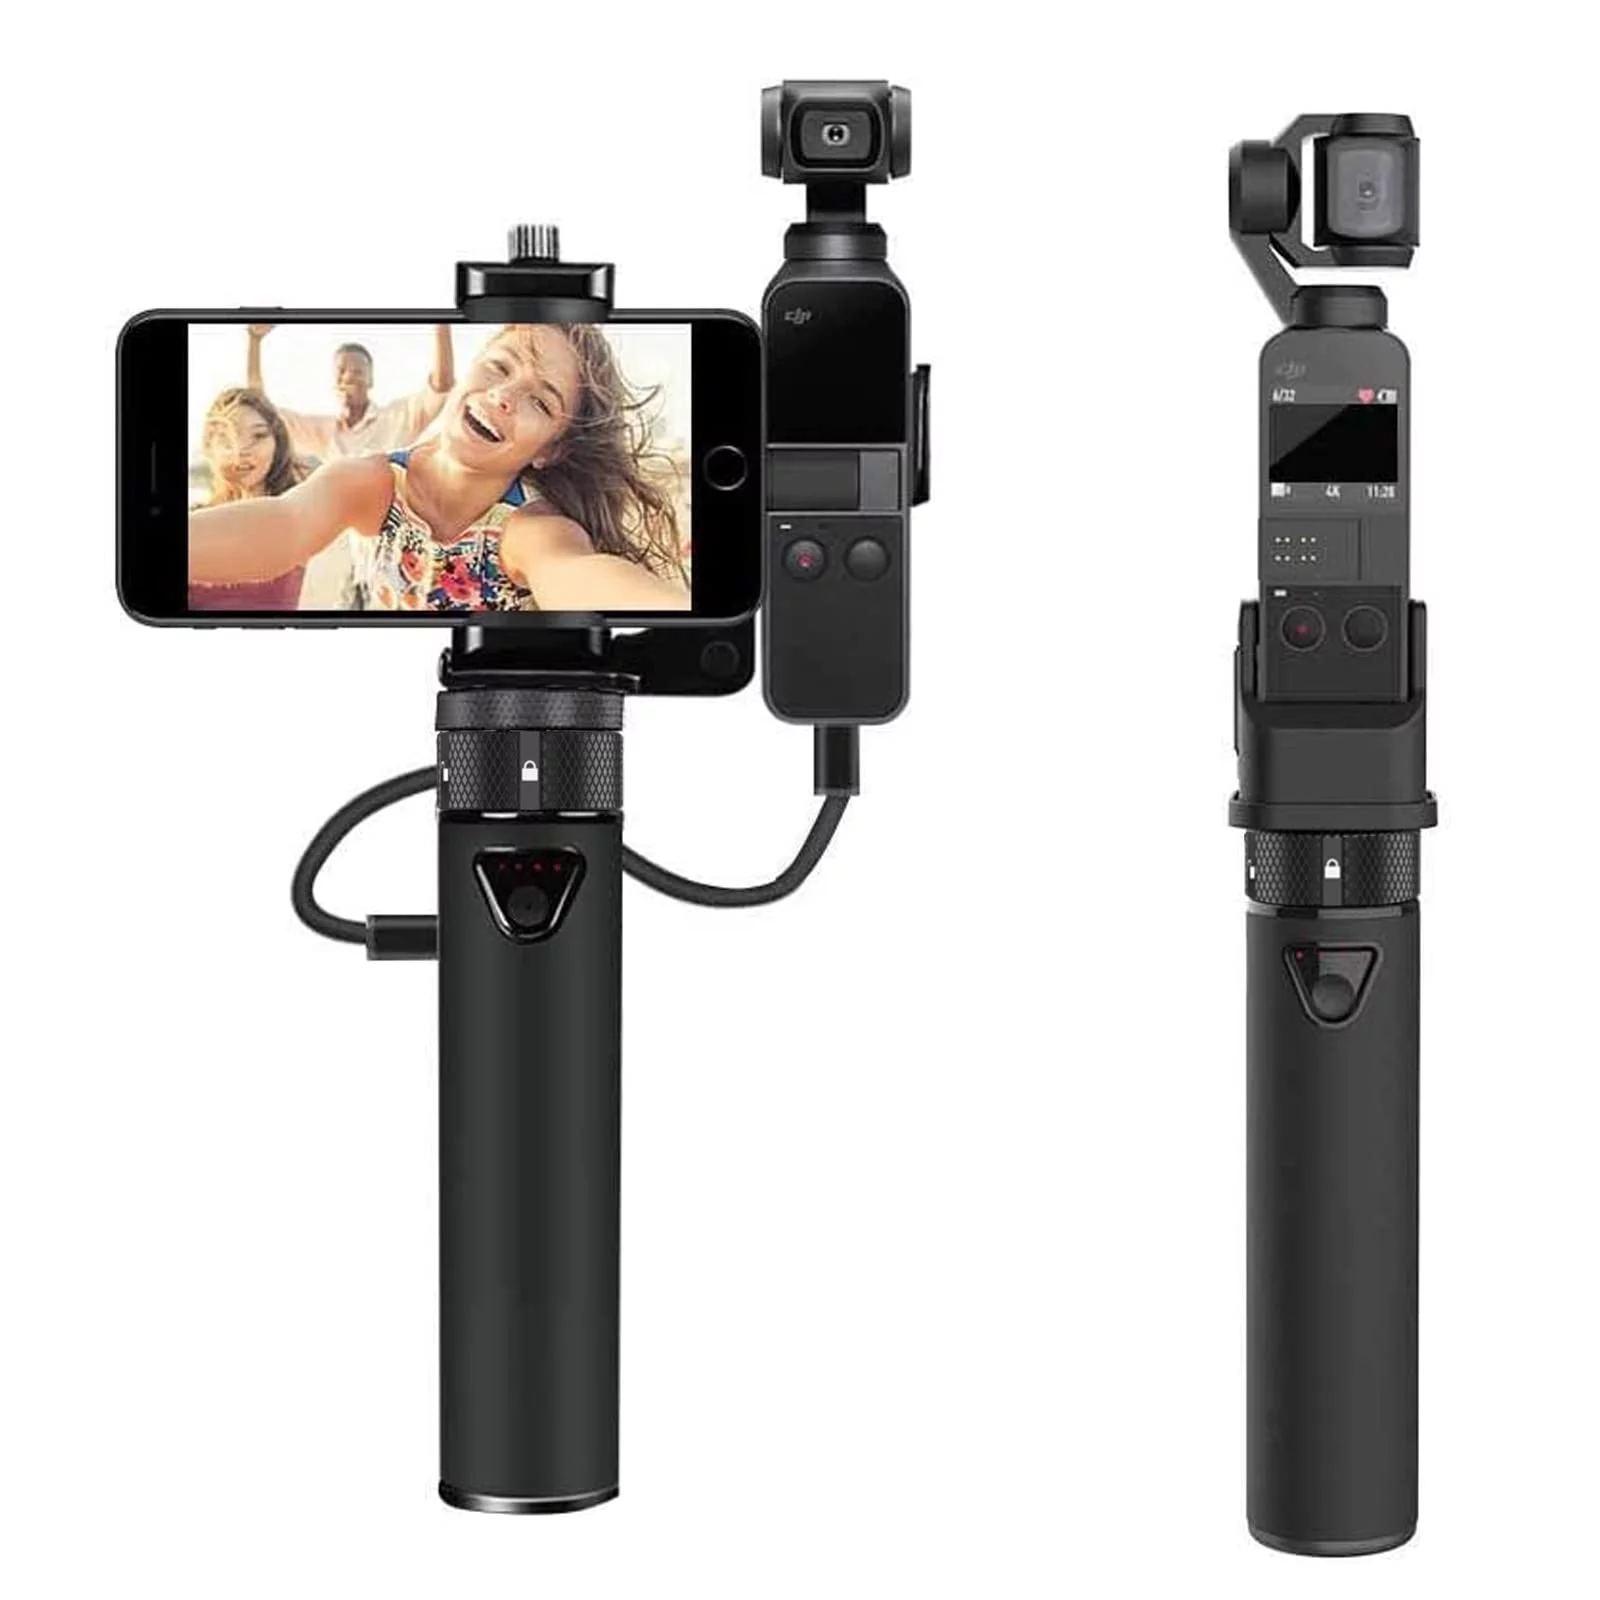
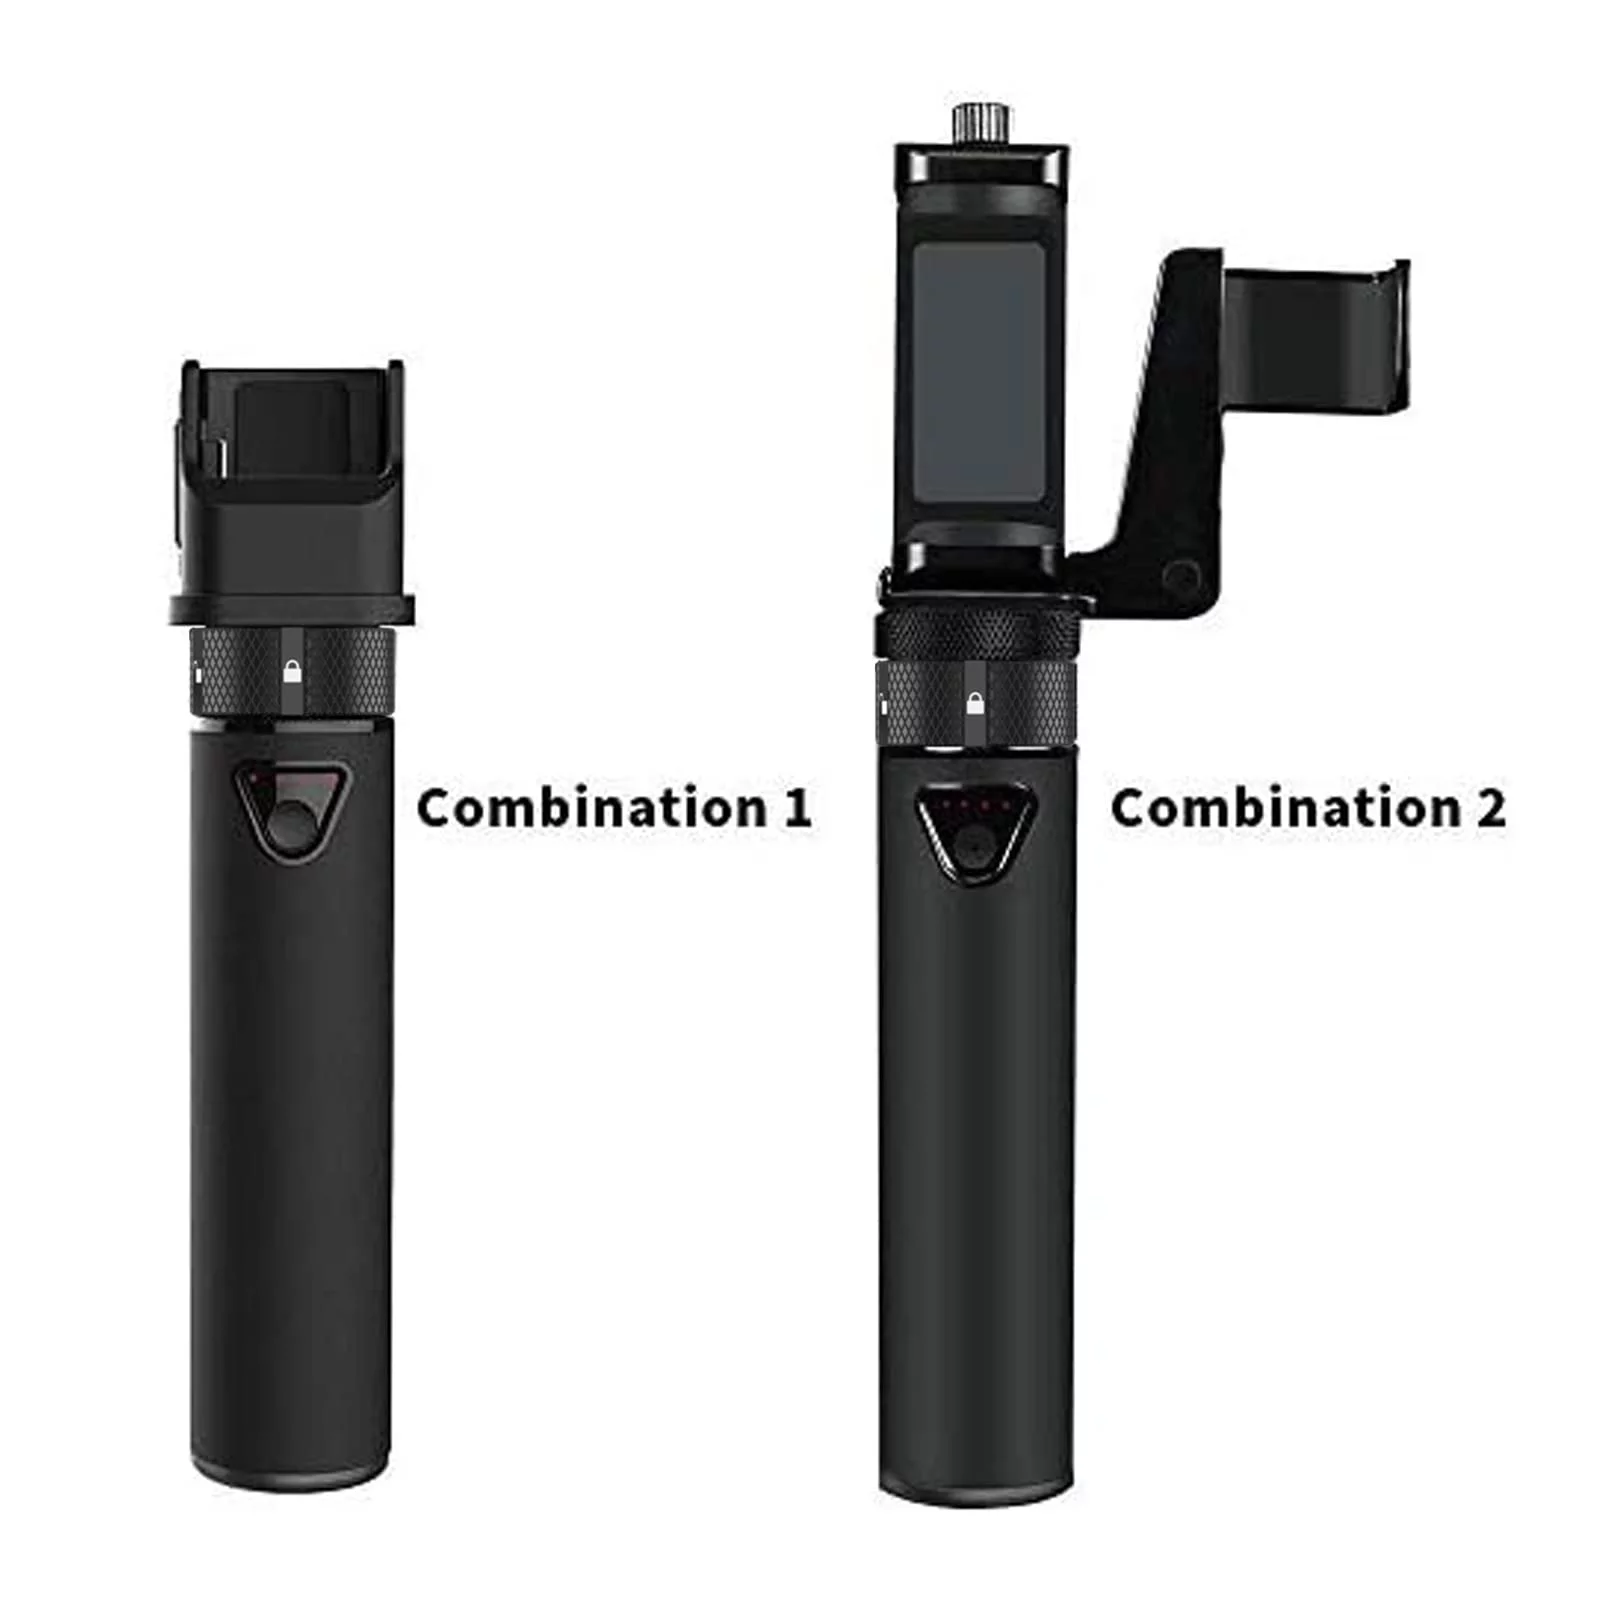
We're back with exclusive offers – grab them now before they're gone!

Smatree Portable Osmo Pocket 2 Powerstick(Power Bank) Compatible For Dji Osmo Pocket 2 & Dji Osmo Pocket 1, Handheld Smartphone Holder Mount Bracket

(0 Reviews)
0 477
12,402 9,325
-25 %
In Stock
B07QX492BL
SPECIAL OFFER
Extra 5% Off with Sitewide Code BHEJO5
  • Guaranteed Genuine Product imported from the USA
  • Free Shipping
  • Price shown is all-inclusive-you will never be charged extra
  • Delivery Within 10 to 15 Days.
  • Cancellations accepted within 24 hours after order only
  • Get GST Invoice to claim tax credit up to 28%

About the product

There are three Combinations: Combination 1 - PowerStick + Convertible charging base for pocket 1/2; Combination 2 - PowerStick + Convertible knob + OSMO Pocket phone holder set for pocket 1/2 and phone; Combination 3 - PowerStick + Convertible knob for pocket 3. Note: Phone holder set no fit pocket 3!!
  • Large Capacity:Built-in rechargeable 5000mAh battery supply, It can charge about 2 times for DJI OSMO Pocket. efficiently extend your shooting time.Please fully insert the Pocket / Pocket 2 into the charger base when charging.
  • High-Speed Charging : 5V/2A Type-C output port for OSMO Pocket or Smartphone .Fully charging the OSMO Pocket need about 90 mins ,Shorter than original charging case .Fully charges itself about 4 hours (not use the OSMO Pocket ).
  • Durable Material: 180mm Soft Silicone rubber hand grip with 1/4 Standard Screw port at the bottom allows universal tripod to be attached. The PowerStick built-in safety system fully protects the charger from short circuit, over-current ,Low- voltage and overheat.Non-stretchable
  • NOTE:1.The knob is connected to the smatree charging stick and cannot be reomved. Besides, there is no need to remove the knob, for you can tighten or loosen the holder for osmo pocket & phone/ charing base to the left/right. 2.If you want to change the charging base to the phone/osmo pocket holder, all you need to do is to loosen the charging base by turning the knob(instead of taking it off) to the right, and then insert the holder and tighten it to the left.
  • No reviews found!

    Support chat